What Is Hydro-Vac Winterization?
Published: October 26th, 2022 | Author: Admin
Winterization is crucial to maintaining a hydro-excavator, jetter, or combination jetvac trucks in cold temperatures. This process drains water so it cannot freeze inside the machine and damage its parts. Continue reading to learn more about the winterization process.
What Is the Winterization Process?
The winterization process prepares or adapts a building, vehicle or piece of machinery for winter use or storage. You should winterize a hydro-excavator when you plan to store it in temperatures below 32 degrees or operate it in temperatures below 20 degrees. To winterize a hydro-excavator, you will remove all water from inside the machine's system.
Why Is It Important to Winterize a Hydro-Excavator?
Winterizing a hydro-excavator, jetter and/or combination jetvac is important because it prevents damage. Any water present in the system can freeze and expand in cold temperatures, which can damage a hydro-excavator's lines, water pump and valves. The winterization process removes water so it cannot expand when the temperature drops below freezing.
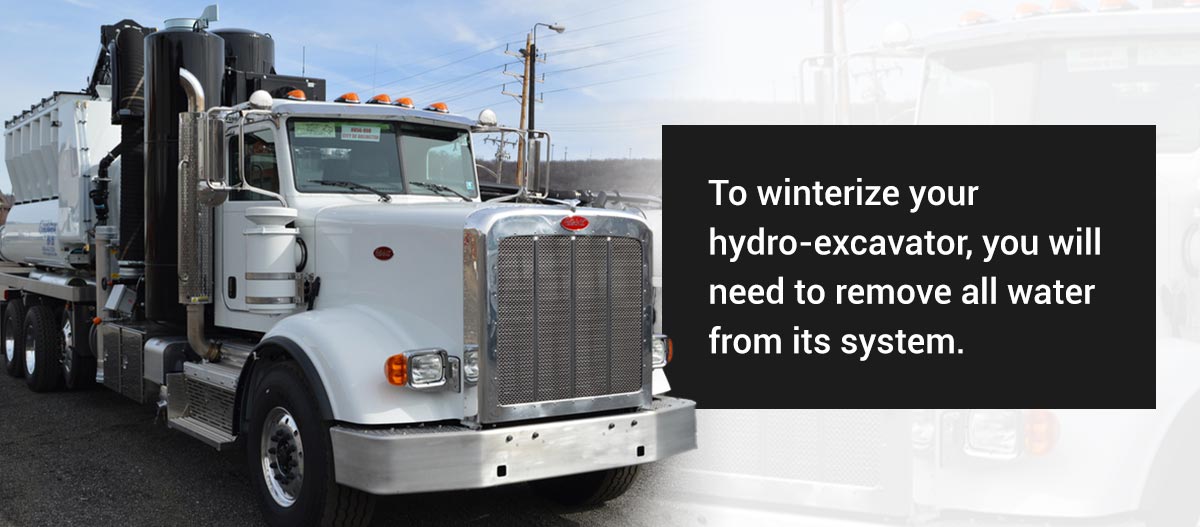
How to Winterize Your Hydro-Excavator
To winterize your hydro-excavator, you will need to remove all water from its system. Keep in mind that if you're working when it is over 20 degrees outside, you will not follow these air-out procedures. Instead, you will use the regular recirculation process outlined in this video -
The winterization process consists of the following steps:
Please note, section 4 of your GapVax Owner's Manual contains a customized operations section for each GapVax vacuum truck built, it is best to review that section prior to performing any operations. The instructions below are a summary of most recirculation operations.
1. Open the Water Pump's Drain Valves
To begin the winterization process, you will need to open the water pump's drain valves (this will vary among water pumps). The water pump contains the following valves:
- Main water pump drain
- Individual cylinder drains
- Inlet drain
- Purge valve drain
For some water pumps, you may need to open the system's valve lifting devices located on the bottom of each cylinder.
2. Open the Main Water Tank's Drain Valve
After opening the water pump's drain valves, you will need to open the water tank's drain valve. This part is located on the driver's side of the truck. It is only one valve, and it will drain the truck's entire water tank.
3. Open the Recirculation Valve and the Debris Tank Valve
Next, you will work your way around the truck and open the other valves. The recirculation valve is located on the side of the truck's water tank, and the debris tank wash-down valve is located closer to the back of the truck.
4. Open the High-Pressure Drain
As you make your way to the back of the truck, you will open the high-pressure drain valve. This valve is located on the bottom of the truck's rear driver's side. Some trucks have two high-pressure drain valves, so make sure to open both valves if two are present.
5. Open the Rear Passenger Side Valves
While you are still at the back of the truck, move to the truck's passenger side. Locate and open the truck's rear passenger-side valves located toward the bottom of its water tank.
6. Open the Passenger Side Hose Reel Valves
Next, you will open the truck's passenger-side hose reel valves (if equipped). Your truck may have two or four of these valves. Your truck may have a high-pressure wash-down reel, and it may also have a lateral reel. Each hose reel contains two valves, so it has a supply valve and a recirculation valve. Make sure to open both of these valves on the hose reel or both hose reels if your truck contains two.
7. Close the High-Pressure Drain Valves
After gravity does its job to release water from the vacuum truck, it's time to close all of the system's high-pressure drain valves. During this step, make sure you leave the gravity drain valves open. Next, you will open each valve one at a time to drain each portion's water.
On the hydro-excavator's water pump, close each cylinder's three drain valves. If your water pump also contains three valve lifting devices, you will need to close them as well. Remember to leave the water pump's gravity drains open. Next, close the recirculation valve (location may vary), the debris tank wash-down valve and the drain valve on the truck's rear driver's side. You may have two valves to close on the rear driver's side.
Leave the two valves on the rear passenger side open. They are gravity low-pressure drains, so there's no need to close them. Closer to the front of the passenger side, close the supply and recirculation valves on the high-pressure wash-down reel and the lateral reel if your hydro-excavator contains a lateral reel. Next, close the high-pressure valves at the front hose reel.
8. Begin the Air-Out Process
Start the truck's engine to set the compressor in motion. The compressor's motion will produce the air you need to air the hydro-excavator's system out. Inside the cab, start the truck's engine and engage the hydraulic system. Turn on the truck's cruise control and use its controls to maintain air compressor operation at peak level during the entire process. During this process, do not engage the water pumper.
With the engine running and the hydraulics on, you will activate some controls at the front control panel. Turn the power switch on, and turn the water pressure switch to the "air out" option. Rotate the multi-flow water pressure control valve the entire way up.
After activating the switches on the control panel, open the water pump's air-out valve on the driver's side of the truck. If the truck contains an air-out engagement switch, turn and hold it for five seconds. Holding this switch engages the air-out process. If you have the proper fittings, you can also use shop air.
9. Open and Close the High-Pressure Valves
Once you engage the air-out process, it's time to open and close the truck's high-pressure valves one at a time. As you open each valve, wait for the system to purge its water and replace it with air. After each valve replaces its water with air, you can close it and move on to the next one. If your hydro-excavator also contains valve lifting devices, you will also need to open and close them one at a time.
10. Drain the Side Hose Reel
Some water may remain in the hydro-excavator's side hose reel, so you will need to open its supply valve and unwind the hose. Unwinding the hose will allow you to use gravity to drain any remaining water. Next, drain the recirculation system by opening and closing its valve, followed by the lateral valve.
11. Drain the Front Hose Reel
Purge water from the front hose reel by opening the main supply valve. Depending on the hose length, it may take a while for all of the water to drain. After it is empty, open the hose's two recirculation valves. After draining the front hose reel, you can repeat the air-out process at each valve again.
Next, you will need to make sure the front hose is completely drained by spinning the wheel backward. This allows centrifugal force and air pressure to force additional water out of the hose. Zip-tie the hose to itself during this process to prevent damage. Open the front hose reel's main supply valve and slowly rotate the hose backward, increasing speed until it reaches its maximum speed. Continue spinning the hose until very little water is draining from it.
12. Complete the Air-Out Process
When the front hose reel is completely drained, the air-out process is complete. Move along to the control panel and turn off the following controls:
- Multi-flow water pressure control valve
- Water pressure switch
- Power switch
To complete the winterization process, close the water pump's air-out valve. Idle down the chassis engine, and turn off the truck's cruise control. Next, disengage its hydraulics system, and turn off the truck's engine. Open all of the high-pressure and gravity valves and the valve lifting devices if your hydro-excavator includes them. This allows any remaining water in the machine to escape and prevents valves from freezing closed.
13. Perform a Final Check
Make sure all water is drained from the hydro-excavator's water pump cylinders. Rotate the water pump's drive shaft by hand to move the cylinders up and down. This final step ensures the tops and bottoms of the cylinders are completely dry.
Contact GapVax Inc. to Learn More

Winterization is an important process to maintain hydro-excavators, jetters, and combination jetvac units when temperatures drop. If you are looking for a hydro-excavator or replacement parts for your hydro-excavator, GapVax offers high-quality hydro-excavator trucks to meet your needs. Contact GapVax to learn more about our wide variety of hydro-excavators.
Back To Blog Posts
Contact Us Today!
We build every truck like we are building it for ourselves.
Contact Us Find A Location